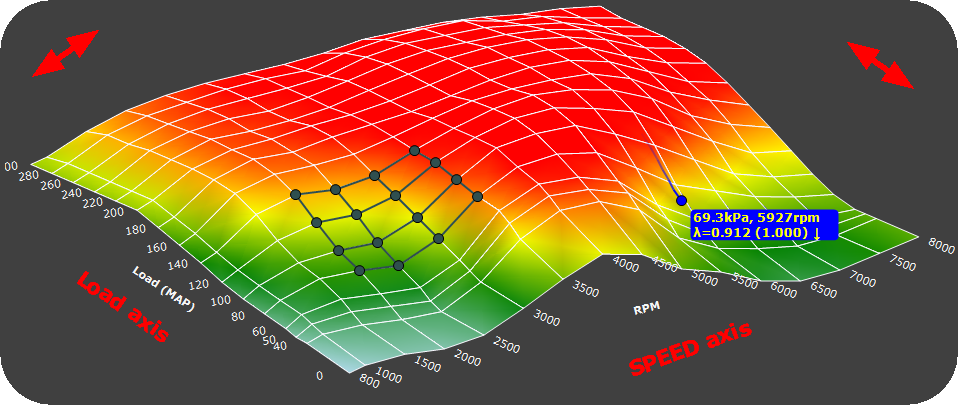
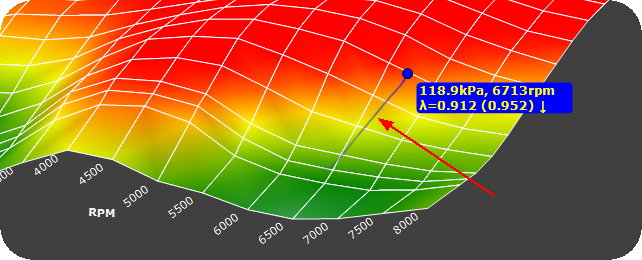
Surface 3D in MTune.
Note: Rotation of the surface can only be done outside the actual surface (red thick arrow), to prevent accidental rotation during mouse operations on the surface.
3D navigation
•Use your mouse to do a selection.
•Move a selection with the arrow keys.
•Expand/shrink selection by holding the SHIFT key while navigating with the arrow keys.
•Press CTRL to move the selection to current engine data pointer.
•CTRL + T will autotune att current engine data position.
See, keyboard shortcut for a complete list.
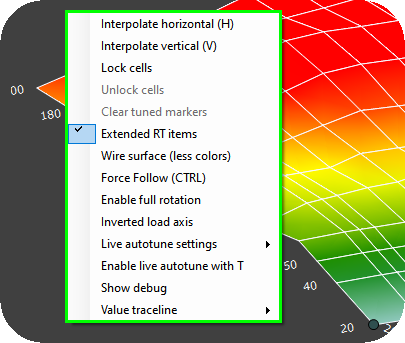
Available right click menu options in Surface 3D view.
3D: Interpolate horizontal

1. Make a selection you want to interpolate between the cells in horizontal direction (SPEED axle).

2. Right click on the background, select interpolate horizontal (H). The above image shows an example horizontal interpolation completed.
Note: All operations are undoable by using the CTRL+Z keyboard shortcut.
3D: Interpolate vertical
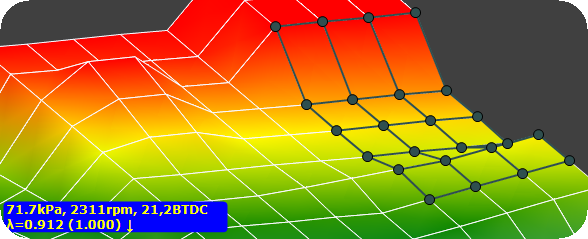
1. Make a selection you want to interpolate between the cells in vertical direction (LOAD axle).
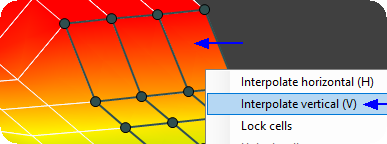
2. Right click on the background, select interpolate vertical (V).
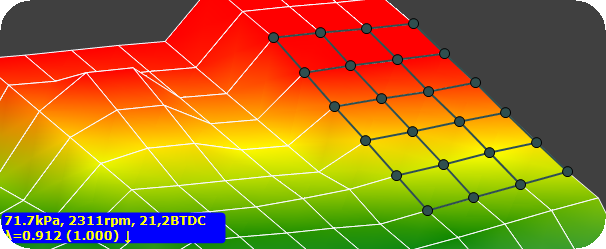
3. The above image shows an example vertical interpolation completed
Note: All operations are undoable by using the CTRL+Z keyboard shortcut.
3D: Locking cells
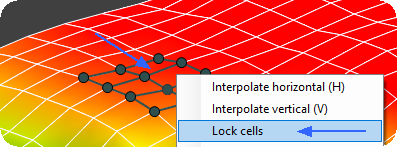
1. Right click on a selection, right click and select Lock cells.
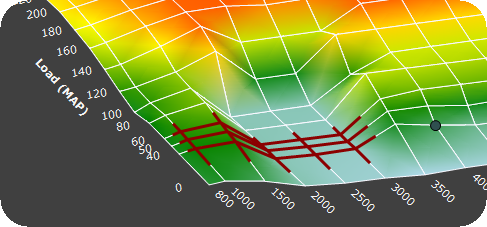
2. Locked area highlighted in Surface 3D mode.
3D: Unlock cells
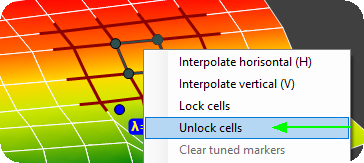
1. Right click on the cell (s) you want to unlock, select Unlock cells.
Note: All operations are undoable by using the CTRL+Z keyboard shortcut.
3D: Clear tuned markers
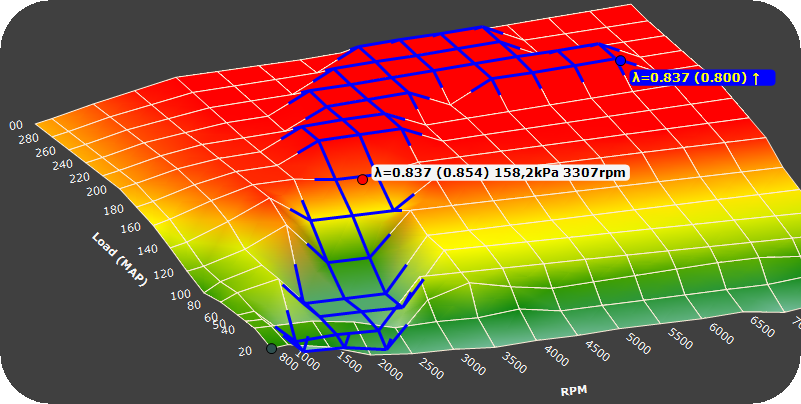
Example of how the Surface 3D view indicates the "tuned cells", for more information on tuned cells, see Autotune (from logfile) and Autotune (local).
3D: Extended RT items

Enables more RealTime data values at engine data pointer on some tables.
Wire surface (less colors)
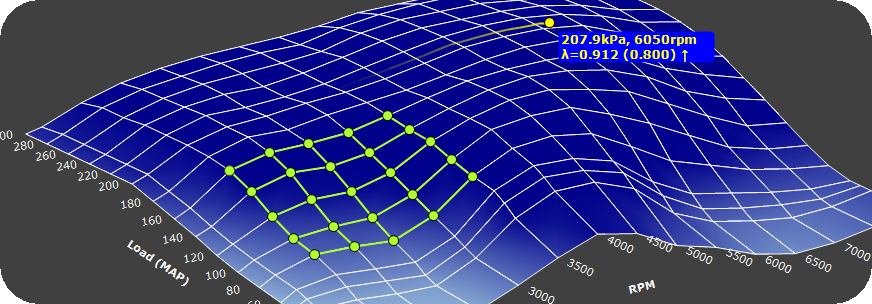
If you want a less colorfull 3D view, the "wire surface" is an option for you.
Follow (force)
Selections (green) follows and surrounds engine data, to make it easier to change values at engine position.
Enable full rotation
When checked, MTune do not prevent you from rotate the surface in a "strange" direction, you can now rotate however you like.
Inverted load axis
Invert load axis, enabled as default when viewing Main Ignition table.
Live autotune settings
Has two options which will affect the below live autotune feature.
Regulator speed
Depends on the computer and USB speed since the process is made within MTune software.
•Fast.
•normal (recommended).
•slow.
Max corrections
Specifies how much to limit the calculated correction applied to the main VE table.
•Small adjustments.
•normal (recommended).
•large adjustments.
Enable live autotune with T.
When enabled, the experimental "live autotune" function (only available in 3D) can be triggered by "T" on the keyboard.
Note: Uses the current lambda, lambda target and current lambda corr to calculate the adjustments needed (lambda corr error) on the particular spot.
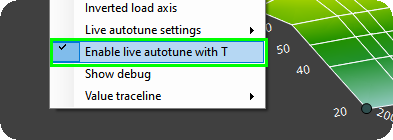
1. Enable the Live autotune feature by right clicking outside the actual surface and select.
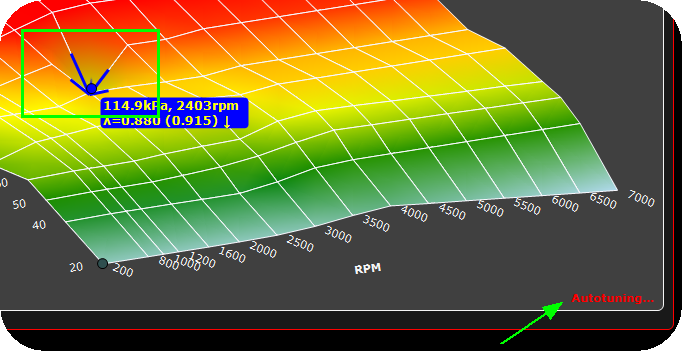
2. Press the "T" to toggle between live autotune and normal operation. Any autotune function is indicated by a blinking Autotuning... in the bottom right corner.
•Does not autotune during any fuel/ignition cuts.
•Does not autotune during any acceleration events.
•Slows down the autotuning process automatically between 600 and 1500rpm range.
•Does not work below 600rpm.
•Requires a working lambda sensor.
Value traceline
Selectable length of the value traceline is available.
