8HP related links
•8HP FAQ.
•8HP torque converter control.
To reflash the GEN1 TCU to our MaxxECU custom Dodge TCU firmware, you need to use a TCU reflash tool (product ID: 2277) which are able to reflash the whole memory area, not only the "maps" area, which most tool only are able to do.
Preferable, use the PC software, download here.
Android security folder issue
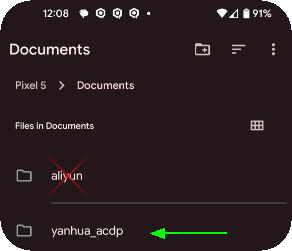
The folder to use.
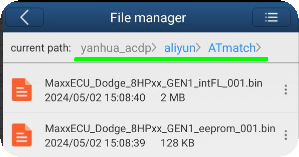
Make sure to copy files into the correct folder shown above, and when asked to gain access to your folders, just select "Documents" both times.
Note: You might need to go into "My files" and refresh the file listings, Me --> My Files --> "..." --> All files --> Refresh in the bottom of the screen, this needs to be done every time you copy a new file into the folders.
How to reflash the GEN1 TCU to MaxxECU custom Dodge.
1 - Hardware setup
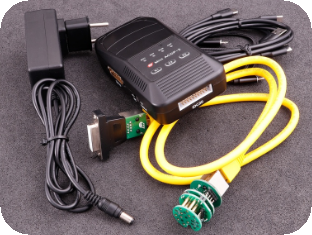
1. Bring out the tool, cables, adapters and connectors from the package.
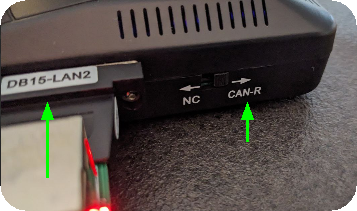
1.2. Insert the DB15-LAN cable into the ACDP-II tool, make sure to check the switch to be set to CAN-R.
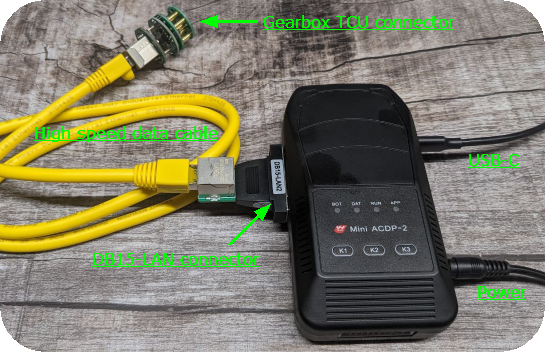
1.3. Power the tool with the included AC adapter, insert the provided USB-cable that fits your phone, connect the high speed data cable with the gearbox TCU connector and the DB15-LAN connector as the image shows.
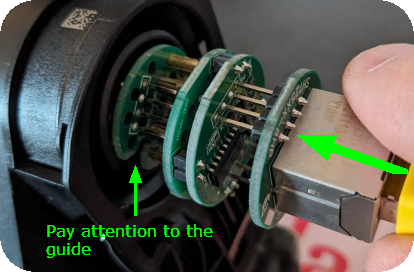
1.4. Gently insert the ACDP TCU connector into the ZF TCU connector, pay attention to the guides as there is only one rotation angle it can be inserted into, make sure to seat it all the way in using a little bit of force.
2 - Software installation

2.1. Search for "Mini ACDP" in app/play store, download and install.
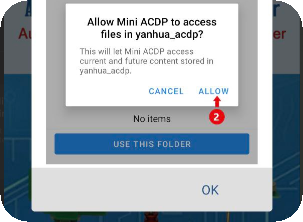
2.2. Allow the app for read and write access to the "Documents" folder.
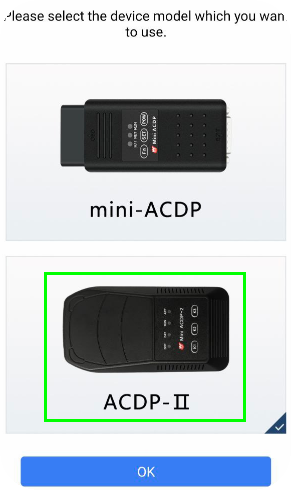
2.3. Select the ACDP-II from the list, since that is the tool you have.
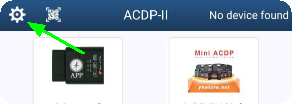
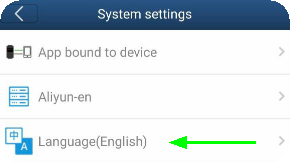
2.4. If the app language is Chinese and you don't understand a clue, change to English :). Third option from the top in settings.
3 - Module registration
The 8HP interface board and programming module needs to be registered before the first time use.
Note: if borrowing/lending from someone used to program their 8HP, you most likely wont need todo anything here.
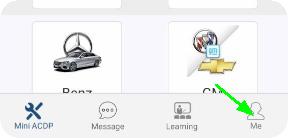
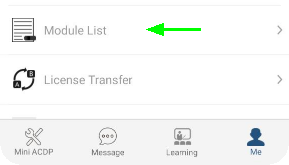
3.1. Tap on "Me" and then "Module list" to see authorized devices and modules.
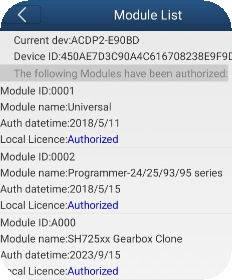
The module list should look something like this when everything is good, so if it does, you can skip to the next section.
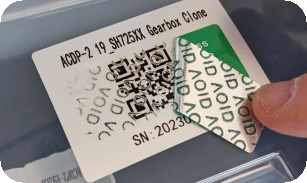
Peel of the green sticker to access the authorization code.
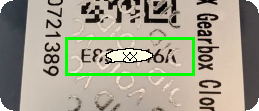
The authorization code that needs to be entered if module not authorized.

Press "ADD" if you need to add a new module that does not exist in the list, follow the onscreen instructions to complete.
4 - Flashing
Download the latest firmware files for your 8HP gearbox:
8HP45 / 8HP70 / 8HP90 latest files
Since the 8HP control is in public BETA, we need to have control and take care of each customer to make sure it is all working.
Please email support@maxxecu.com, attach screnshot of the TCU ident + binary readouts of internal flash + eeprom, provide vehicle information of the gearbox origin, see 8HP reflash procedure.
Note: do NOT try to use any of these code/calibrations together with OE Dodge or any other ECU/PCM; it will not work and might trash your gearbox. ONLY for MaxxECU EMS.
Save the internal flash and eeprom files (for your gearbox model) on your phone and unpack to the Yanhuaa folder you gave the app access to using the phone file-manager in the beginning.
Flashing order (IMPORTANT)

If the file you got says like the above, then you need to perform step 1 and 3.
1.Internal Flash.
2.Maps. <-- not needed for the binary4 or higher, skip this step.
3.INT EEPROM.
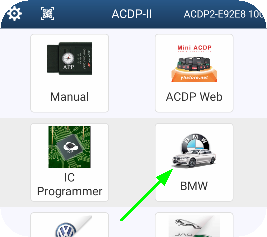
4.1. Tap on BMW.
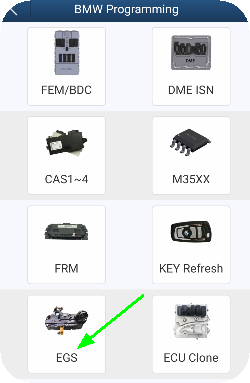
4.2. Tap on EGS.
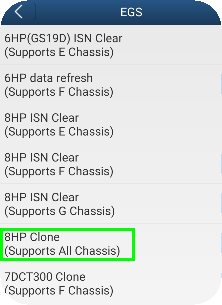
4.3. Tap on "8HP Clone"
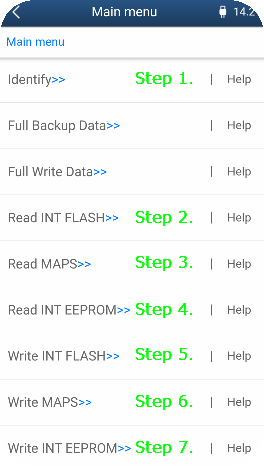
4.4. The steps to make, always start with the identification to make sure you have a good connection with the TCU. Secondly always read the internal flash, maps and eeprom memory, incase something is happening or if we encounter an ECU we have not seen before.
Note: Flashing MAPS is no longer needed for binary4 and higher.
Identification example
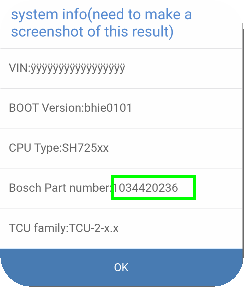
4.4.1. Example of identification (always take a screen-shot of this data), make sure the Bosch part number is supported, see 8HP hardware identifier.
Note: if your TCU is on the list of supported models, it does not mean you are smoked, just that we have not seen or verified that part number. Please contact us if not in the list, good or bad so that we can update the list and try to help you out.
Read Maps Example

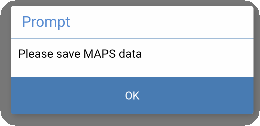
4.4.2. Press the "READ Maps" and follow the on-screen instructions and save the file to phone.
Write internal flash example
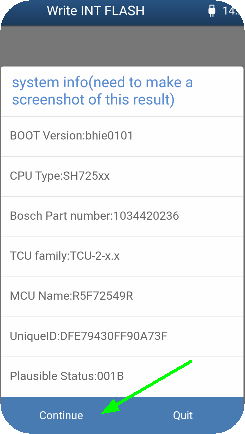
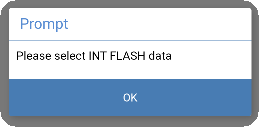
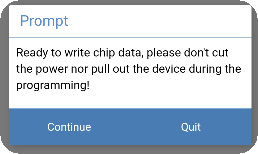

4.4.3. Press the "Write INT FLASH", follow on-screen instructions and select our custom files you downloaded in step 4.